

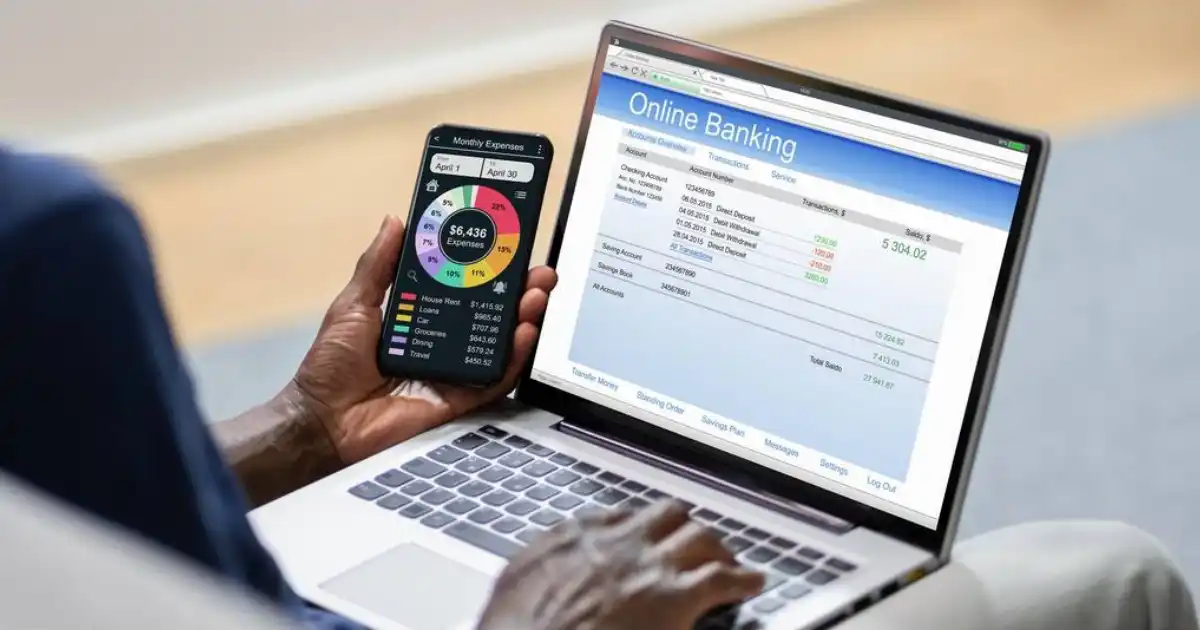
An expense tracker app can make budgeting much easier. Instead of wondering where your money went, you can see your spending in one place.
For many people, this is the missing step. They try to budget, but they do not track daily spending. Then the budget slowly falls apart.
The right expense tracker app helps you notice patterns, catch waste, and make better choices before the month is over.
This guide explains what an expense tracker app does, what features matter, and how to choose one that fits your life.
What Is an Expense Tracker App?
An expense tracker app helps you record and organize your spending.
Depending on the app, it may let you:
- Connect bank accounts
- Enter expenses manually
- Create spending categories
- Set monthly limits
- Track bills
- Scan receipts
- Export reports
- View charts
- Monitor subscriptions
Some apps are simple. Others are more advanced.
For personal budgeting, simple is often better.
You want an app you will actually use, not one that feels like homework.
Why Expense Tracking Matters
Most people know their big bills. Rent, mortgage, car payments, and insurance are usually easy to remember.
The problem is smaller spending.
Things like:
- Coffee
- Snacks
- Takeout
- Small online orders
- Subscriptions
- Gas station purchases
- Extra grocery trips
- App purchases
These expenses can quietly drain your budget.
Tracking helps you see the truth without guessing.
Manual vs Automatic Tracking
There are two main types of expense tracking.
Manual Expense Tracking
Manual tracking means you enter each purchase yourself.
This takes more effort, but it makes you more aware of your spending.
Manual tracking may be best if:
- You want full control
- You do not want to connect your bank
- You mostly use cash
- You like simple systems
- You want to build better habits
The downside is that you must remember to enter purchases.
Automatic Expense Tracking
Automatic tracking connects to your bank account or card.
The app pulls in transactions and sorts them into categories.
This is easier, especially if you use cards for most purchases.
Automatic tracking may be best if:
- You want convenience
- You have many transactions
- You use debit or credit cards often
- You want spending reports
- You do not want to enter everything manually
The downside is that categories may need correction. The app may also require access to sensitive financial data.
Features to Look For
A good expense tracker app does not need every feature. It needs the right features.
Easy Categories
Categories should be simple and clear.
Common categories include:
- Housing
- Groceries
- Restaurants
- Transportation
- Utilities
- Insurance
- Health
- Entertainment
- Shopping
- Subscriptions
- Savings
- Debt payments
If categories are too detailed, tracking becomes harder.
Monthly Spending Limits
A good app lets you set limits by category.
For example:
- Groceries: $600
- Restaurants: $200
- Gas: $180
- Shopping: $150
This helps you see when you are getting close to your limit.
Clear Reports
The app should show where your money goes.
Look for reports like:
- Spending by category
- Monthly spending trends
- Income vs expenses
- Top spending areas
- Subscription tracking
Reports should be easy to understand at a glance.
Bill Reminders
Bill reminders can help you avoid late fees.
This is especially useful if you have several due dates throughout the month.
Receipt Storage
Some people like apps that let them upload receipts.
This is useful for:
- Freelancers
- Side hustlers
- Small business owners
- People who return items often
- People tracking medical or tax-related expenses
For simple personal budgeting, receipt storage is helpful but not always necessary.
Privacy and Security
Before choosing an app, check how it protects your information.
Look for:
- Strong password options
- Two-factor authentication
- Clear privacy policy
- Bank-level encryption claims
- Ability to delete your data
- Good user reviews
If you do not feel comfortable connecting accounts, use a manual tracker.
Best Type of Expense Tracker for Beginners
For beginners, the best app is usually simple and fast.
You do not need advanced investment tracking, net worth charts, or complicated reports at first.
Start with an app that lets you:
- Add expenses quickly
- Create basic categories
- Set monthly limits
- Review spending weekly
- Export or save your data
Once you build the habit, you can upgrade later.
Best Type for Couples
Couples may need an app that allows shared access.
This helps both people see the same budget and spending categories.
Look for:
- Shared wallet features
- Multiple device access
- Clear category limits
- Notes on transactions
- Bill reminders
- Simple monthly summaries
The most important part is agreement. The app only works if both people use it honestly.
Best Type for Freelancers
Freelancers often need more than basic tracking.
A good expense tracker for freelancers should include:
- Receipt uploads
- Business and personal categories
- Mileage tracking
- Invoice or payment notes
- Tax category options
- Exportable reports
Freelancers should keep clean records because business expenses may matter at tax time.
Best Type for Cash Users
If you use cash often, choose an app with easy manual entry.
Automatic bank syncing will not help much if many purchases happen with cash.
Look for:
- Fast manual entry
- Custom categories
- Simple daily log
- Cash balance tracking
- Notes section
You may also use the envelope method with a manual app.
How to Start Tracking Expenses
- Do not overcomplicate the setup.
- Start with these steps:
- Choose five to ten categories.
- Enter your income.
- Add your fixed bills.
- Track every purchase for 30 days.
- Review your spending once a week.
- Adjust categories after the first month.
- The first month is about learning. You do not need to be perfect.
Simple Weekly Review Routine
Once a week, open the app and ask:
- How much did I spend on food?
- Am I close to any category limit?
- Did I forget any purchases?
- Are subscriptions still worth it?
- Can I move money to savings?
- Is there a pattern I need to fix?
- This routine can take less than 15 minutes.
Common Expense Tracking Mistakes
The first mistake is using too many categories.
If you have 40 categories, you may stop tracking.
The second mistake is forgetting cash purchases.
Cash still counts.
The third mistake is checking the app too late. If you review only at the end of the month, it may be too late to fix overspending.
The fourth mistake is giving up after missing a few days.
Just restart. You do not need a perfect record to improve your money habits.
Expense Tracker App vs Budget App
An expense tracker app shows what you spent.
A budget app helps you plan what you should spend.
Many apps do both.
If you are just starting, focus on tracking first. Once you know your real spending, budgeting becomes much easier.
Should You Pay for an Expense Tracker App?
A free app may be enough for basic tracking.
You may consider a paid app if you need:
- Bank syncing
- Shared accounts
- Detailed reports
- Receipt scanning
- Advanced export options
- Freelance or business features
- No ads
Before paying, test the free version. Make sure you like the layout and will actually use it.
Final Thoughts
The best expense tracker app is the one you will use consistently.
It does not need to be fancy. It needs to be clear, simple, and helpful.
Start by tracking your spending for 30 days. Look for patterns. Make small changes. Review your progress each week.
Once you can see where your money goes, it becomes much easier to control it.